
Install and use the Nanopixo Chrome extension
In about 3 minutes you'll have the extension installed, pinned, and ready to import photos from any listing page in one click.
Open the Chrome Web Store
Use Google Chrome to open the Nanopixo extension listing on the Chrome Web Store.
Open the Nanopixo extension on the Chrome Web Store ↗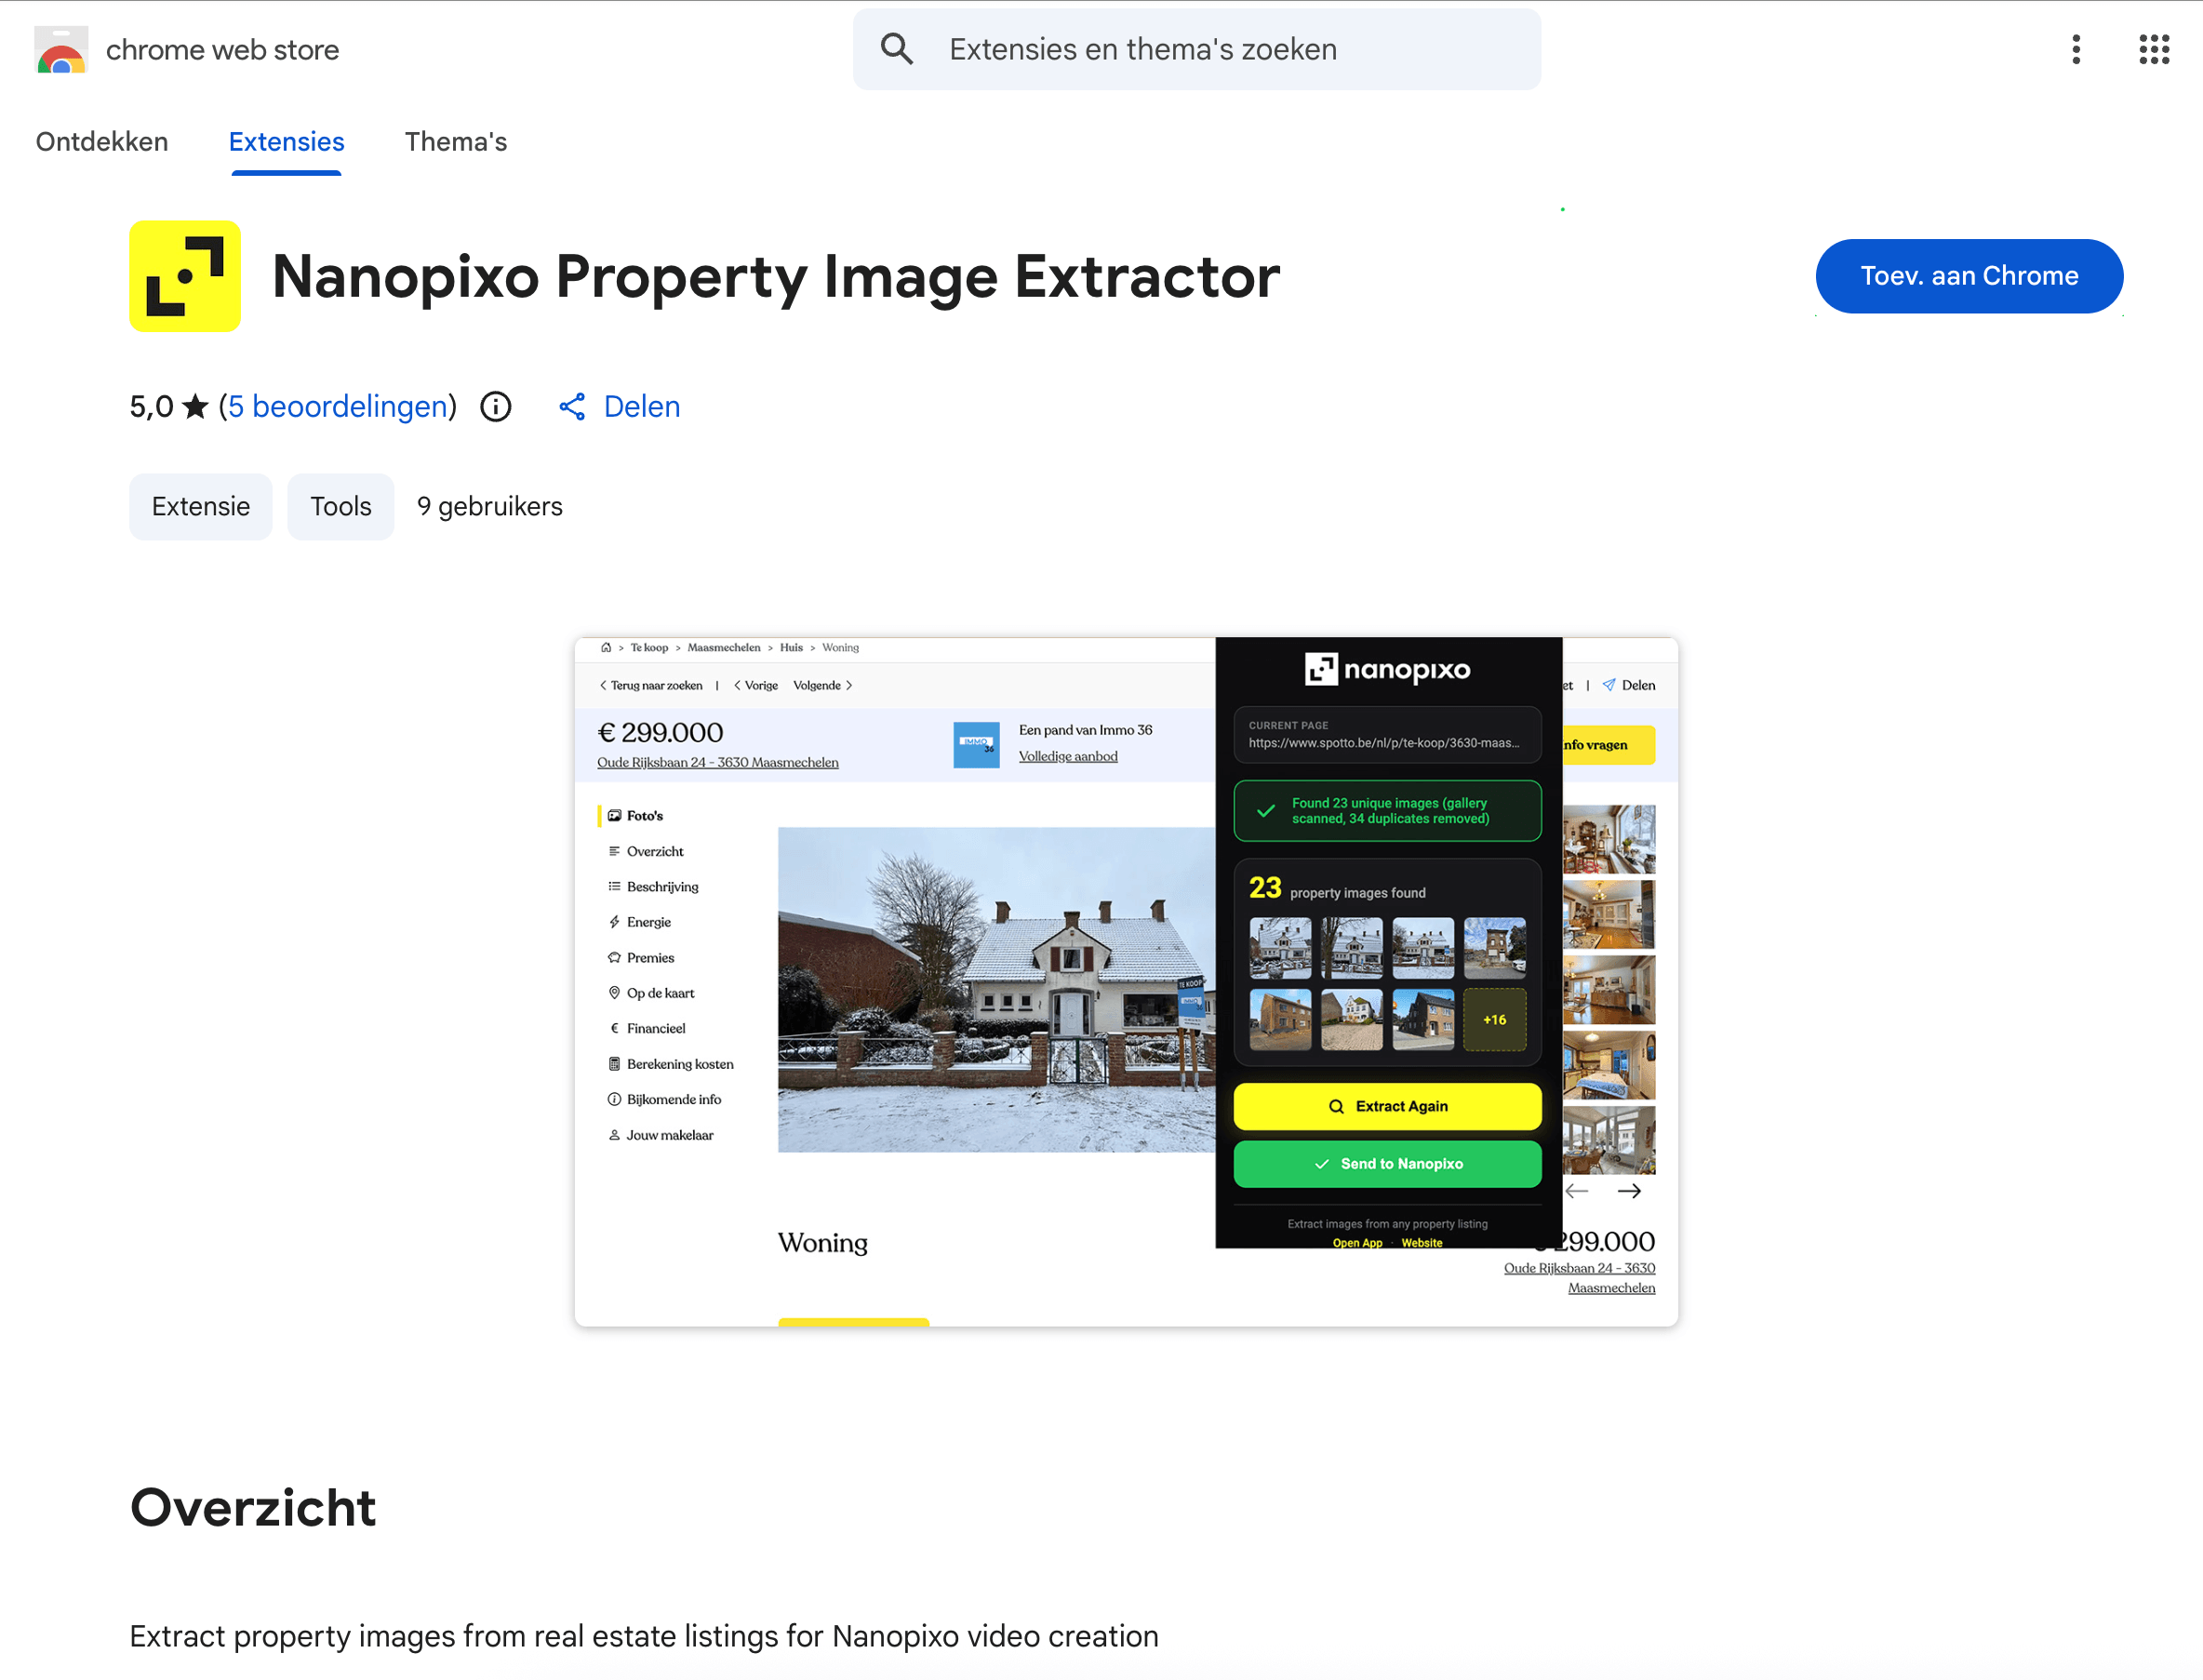
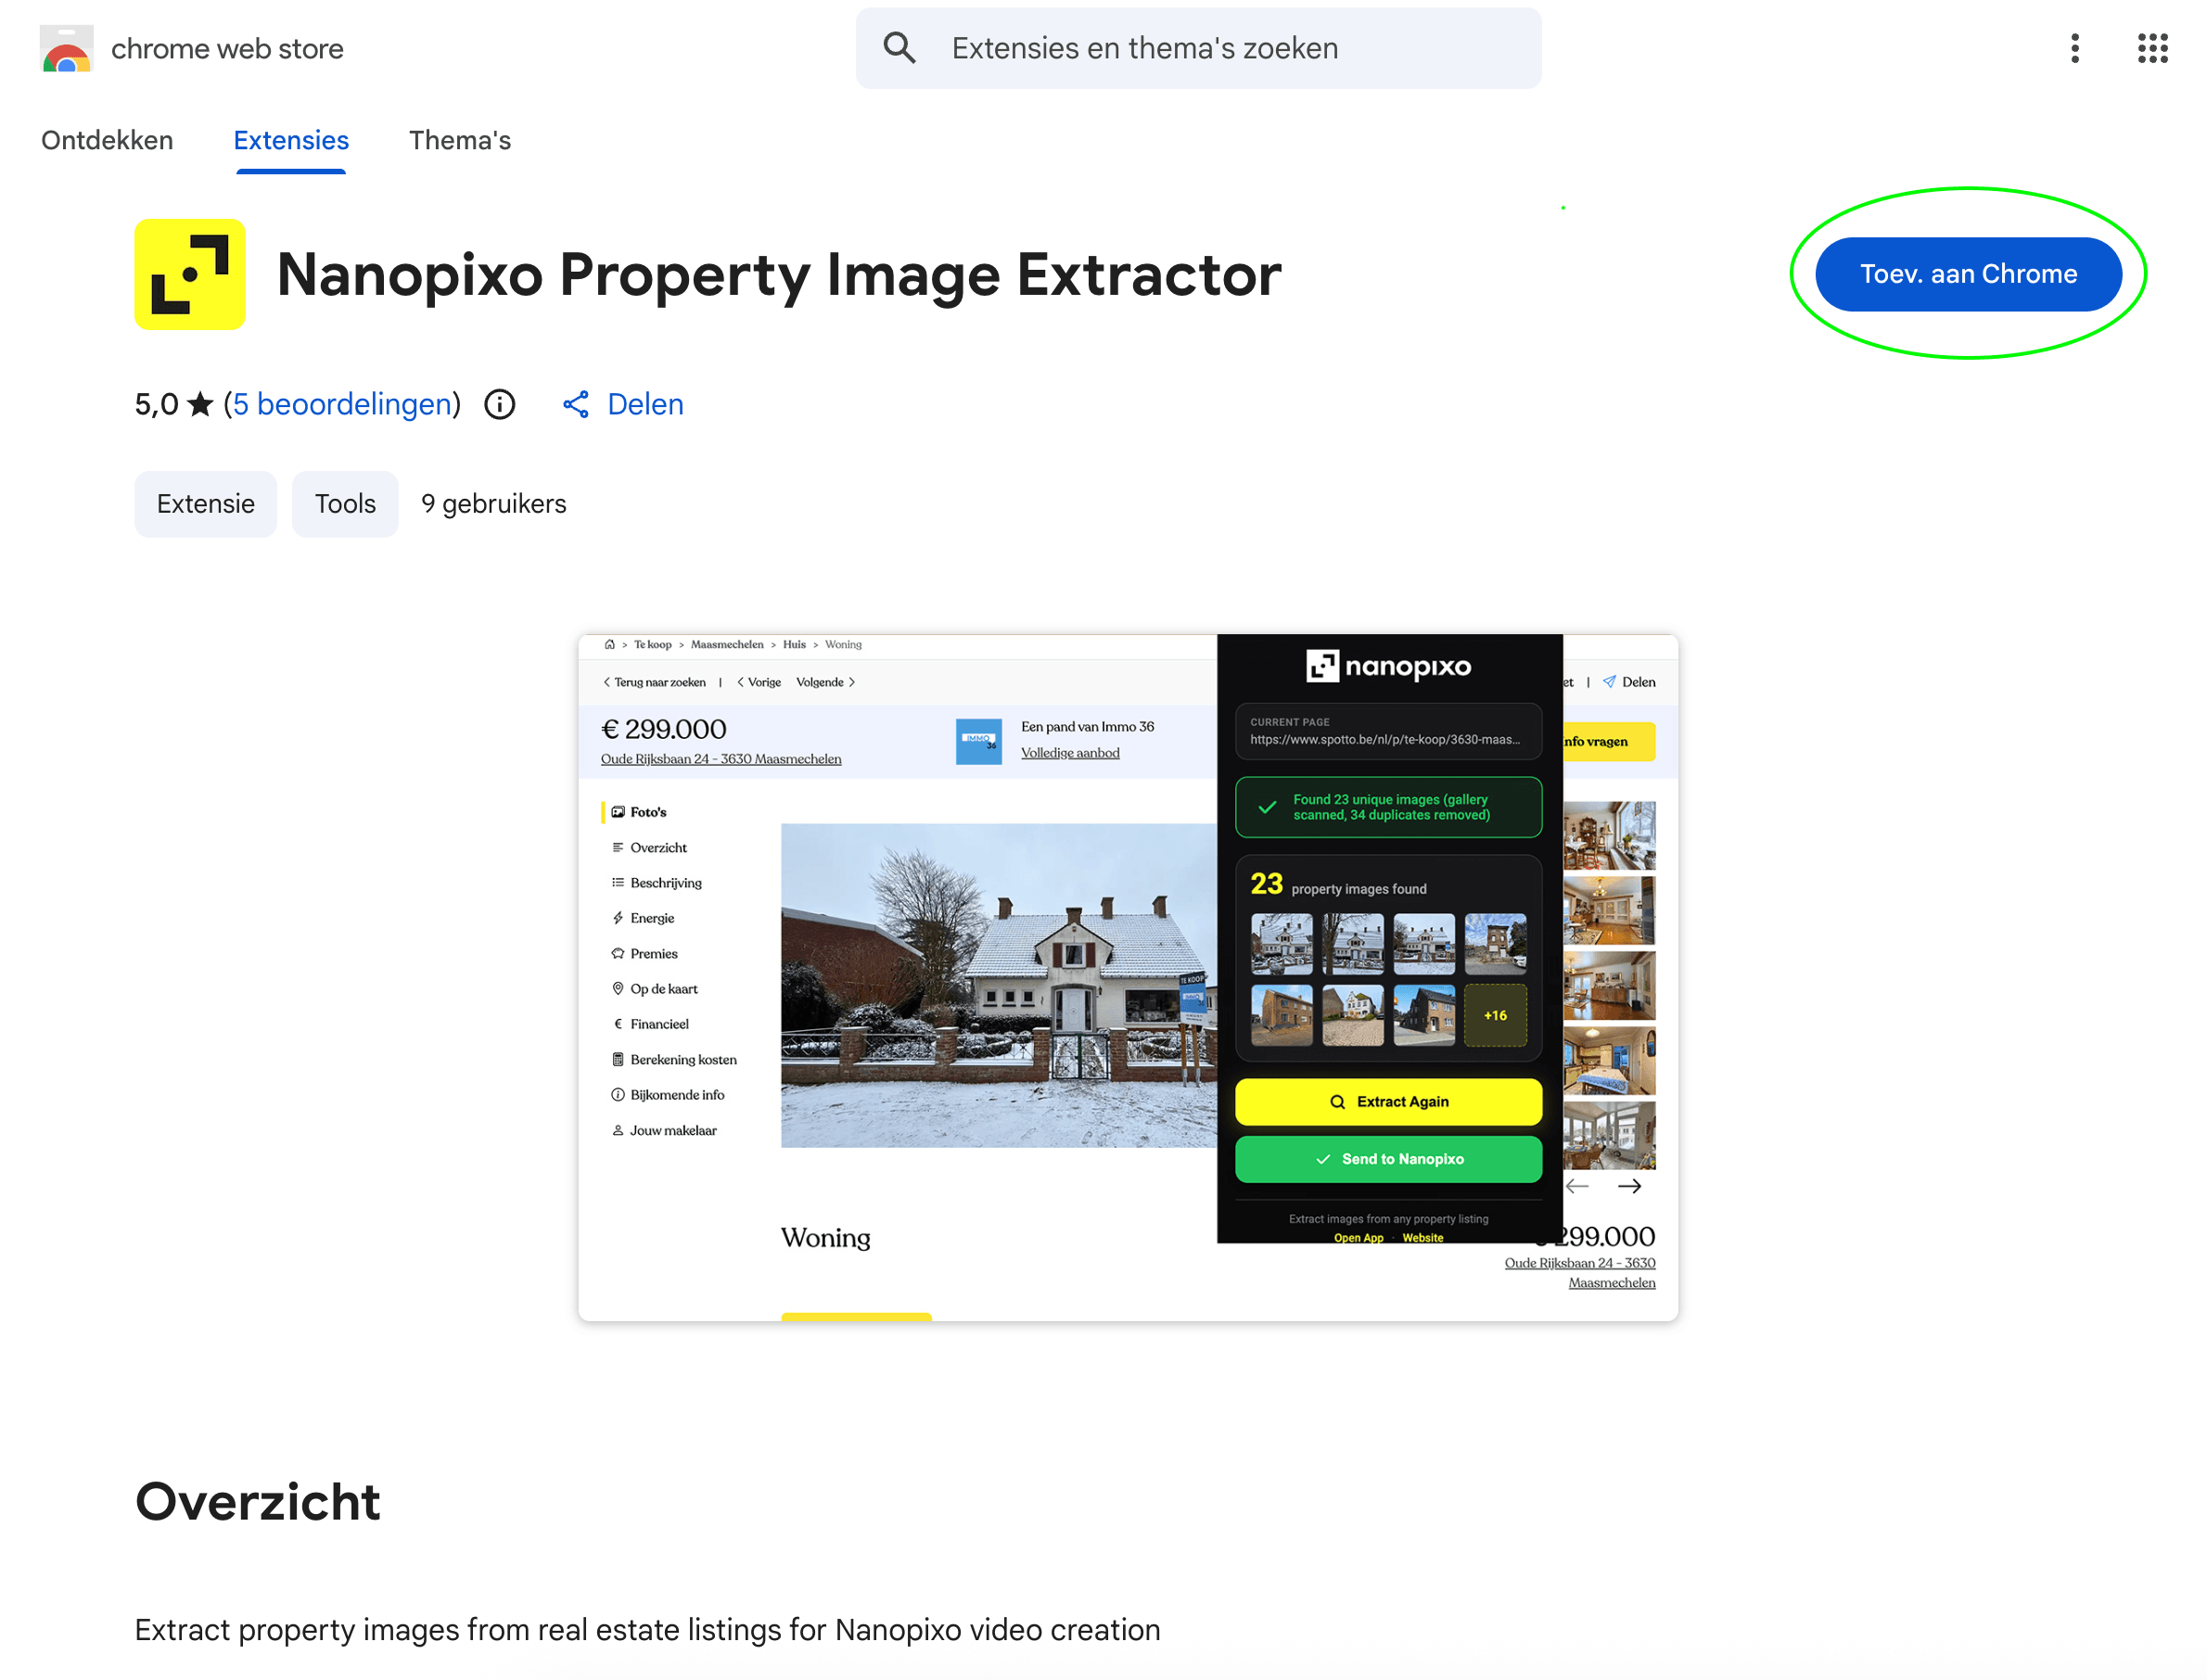
Click "Add to Chrome"
Click the blue "Add to Chrome" button, then confirm by clicking "Add extension" in the permissions prompt.
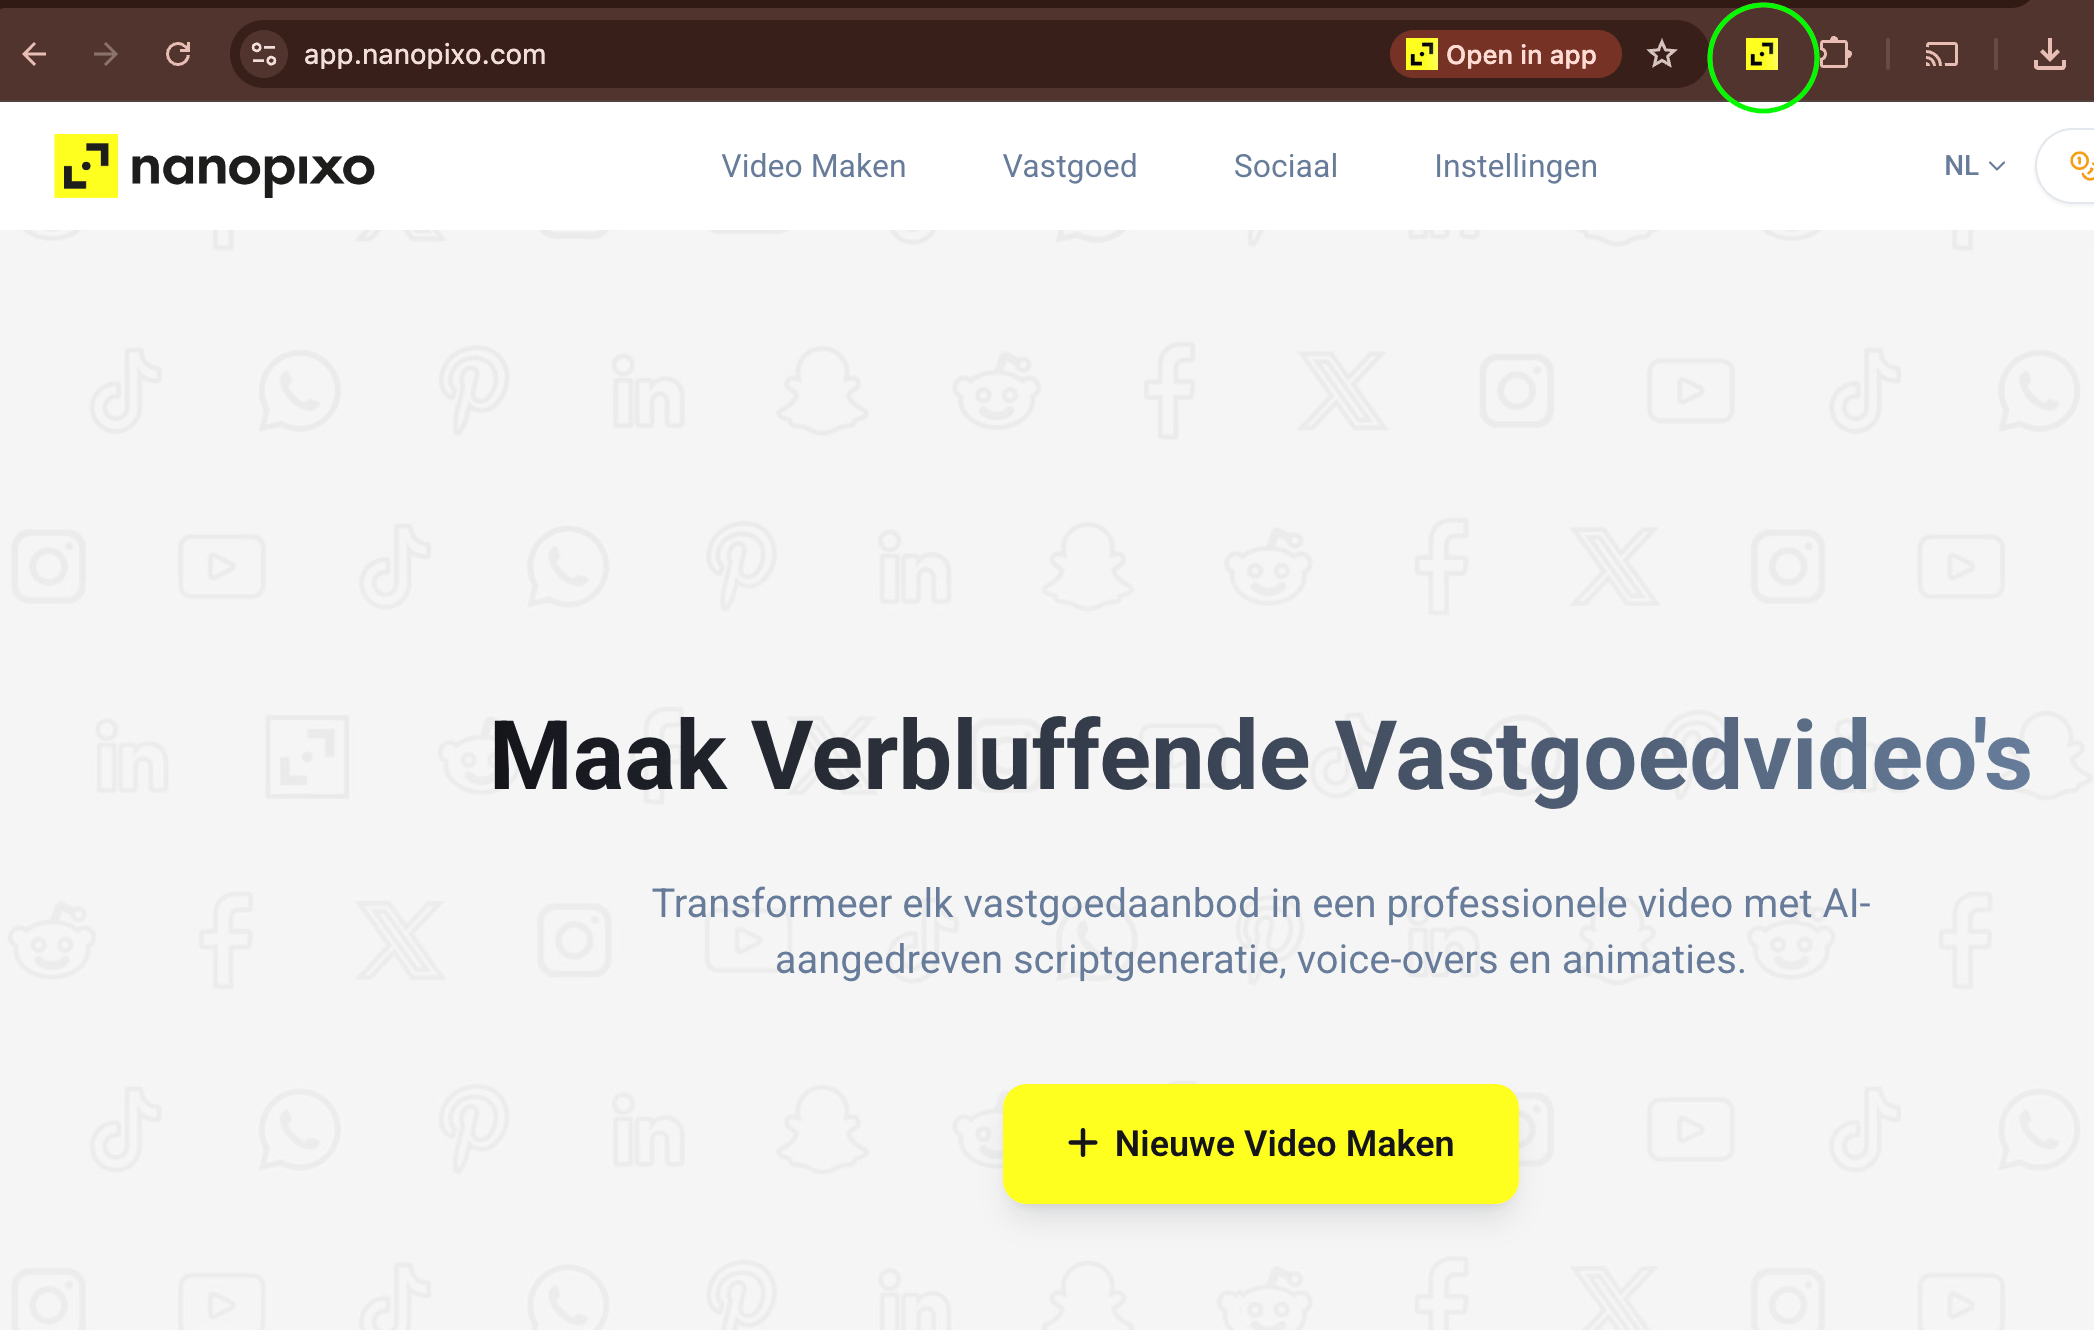
Pin Nanopixo to your toolbar
Click the puzzle-piece icon in the top-right of Chrome, then click the pin next to Nanopixo. The Nanopixo icon now lives permanently in your toolbar.
Sign in to Nanopixo
Log in to your Nanopixo account in the same browser. The extension uses your session to send photos directly to your workspace, so no separate login is needed.
Sign in to Nanopixo ↗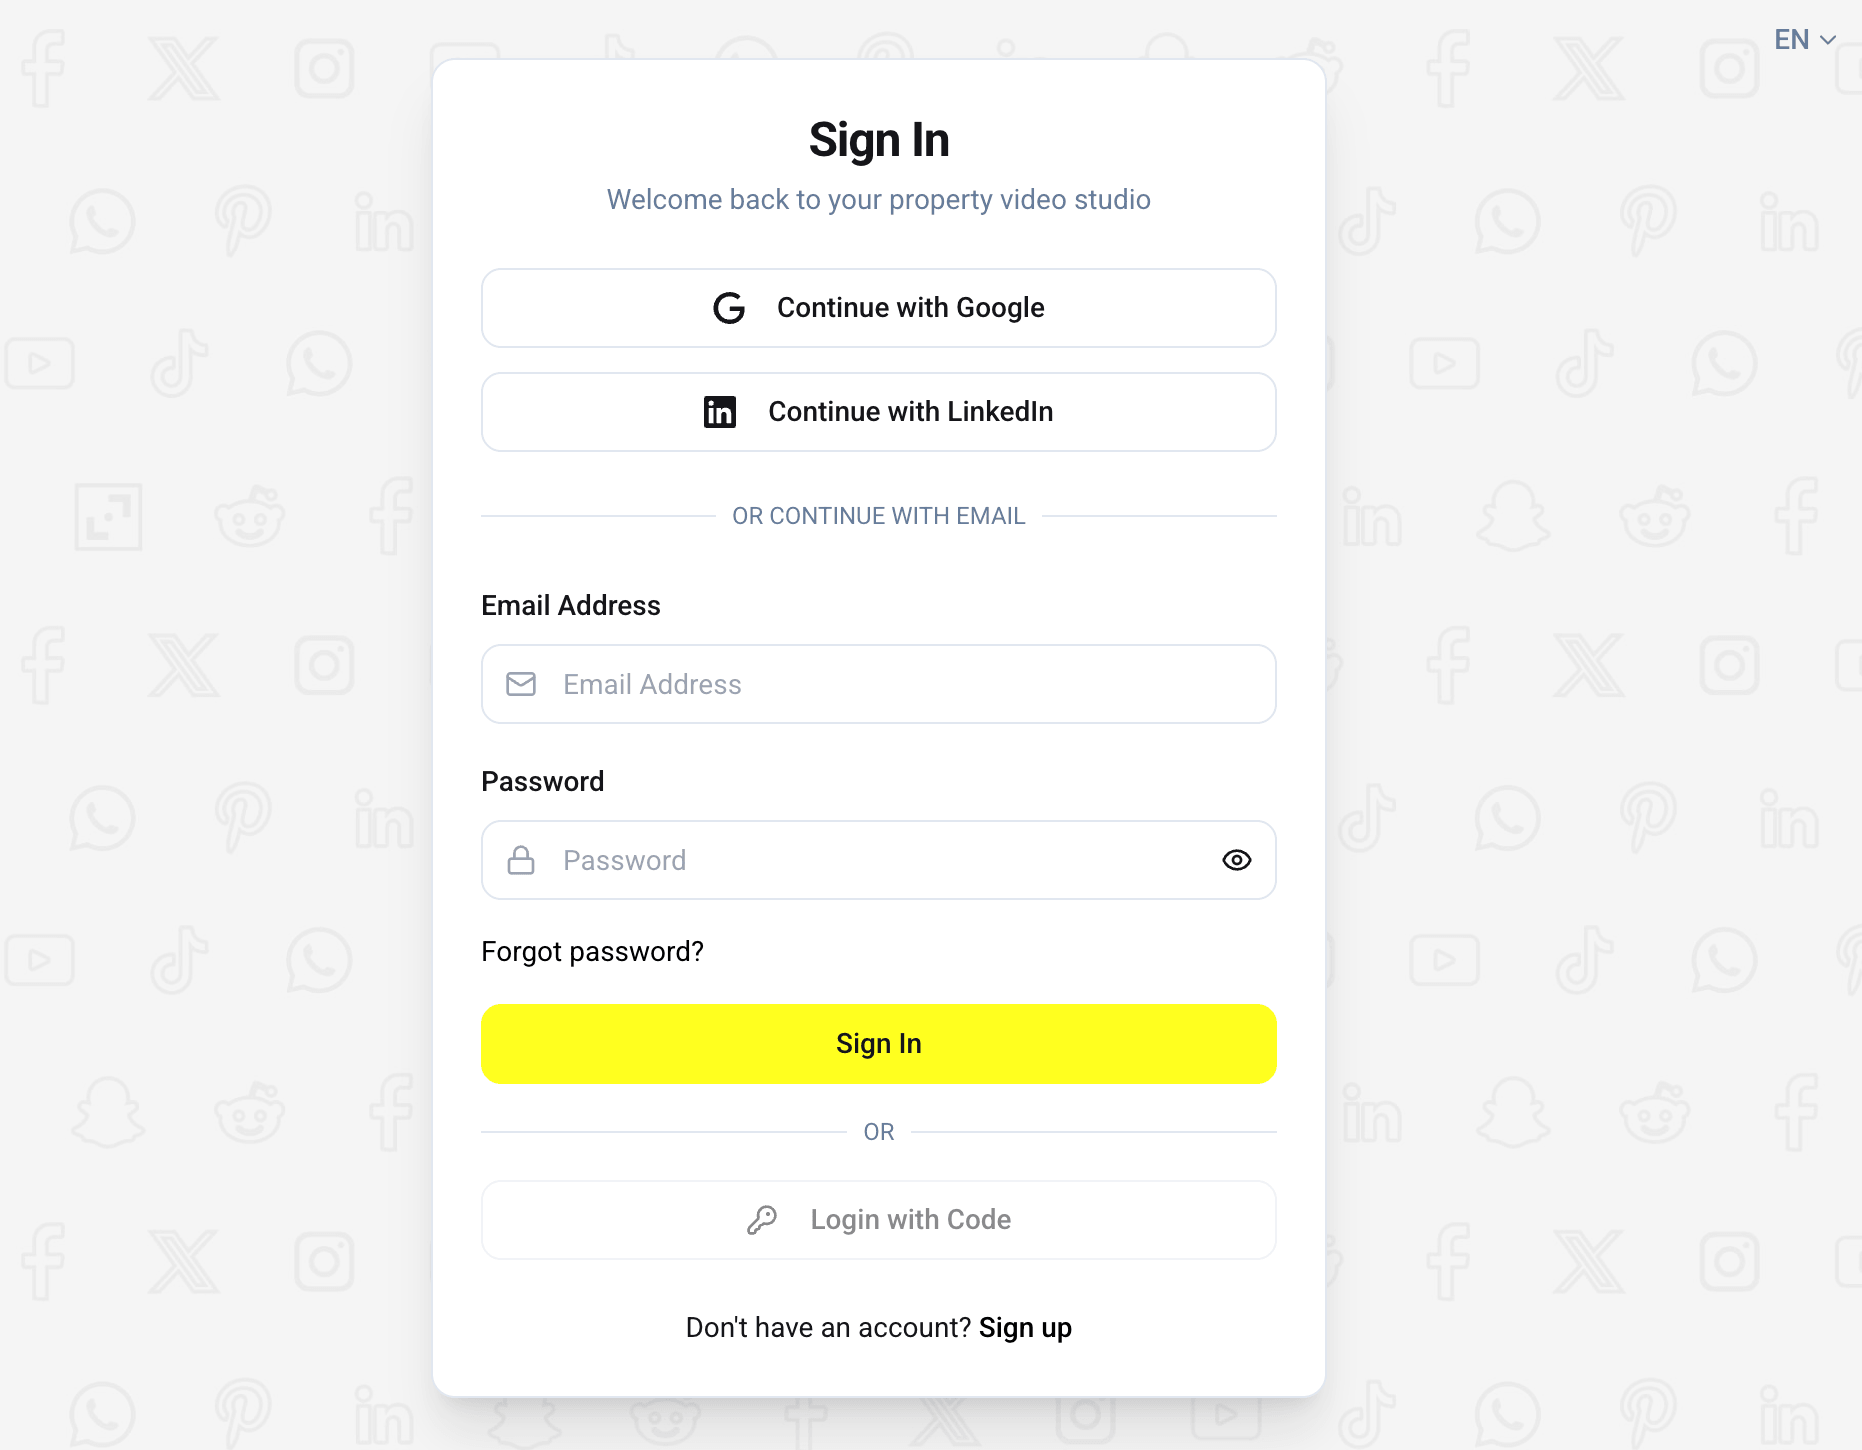
Open any property listing page
Navigate to a property page on your own website, your CRM, or any real estate or vacation rental portal. The extension works on any page with listing photos.
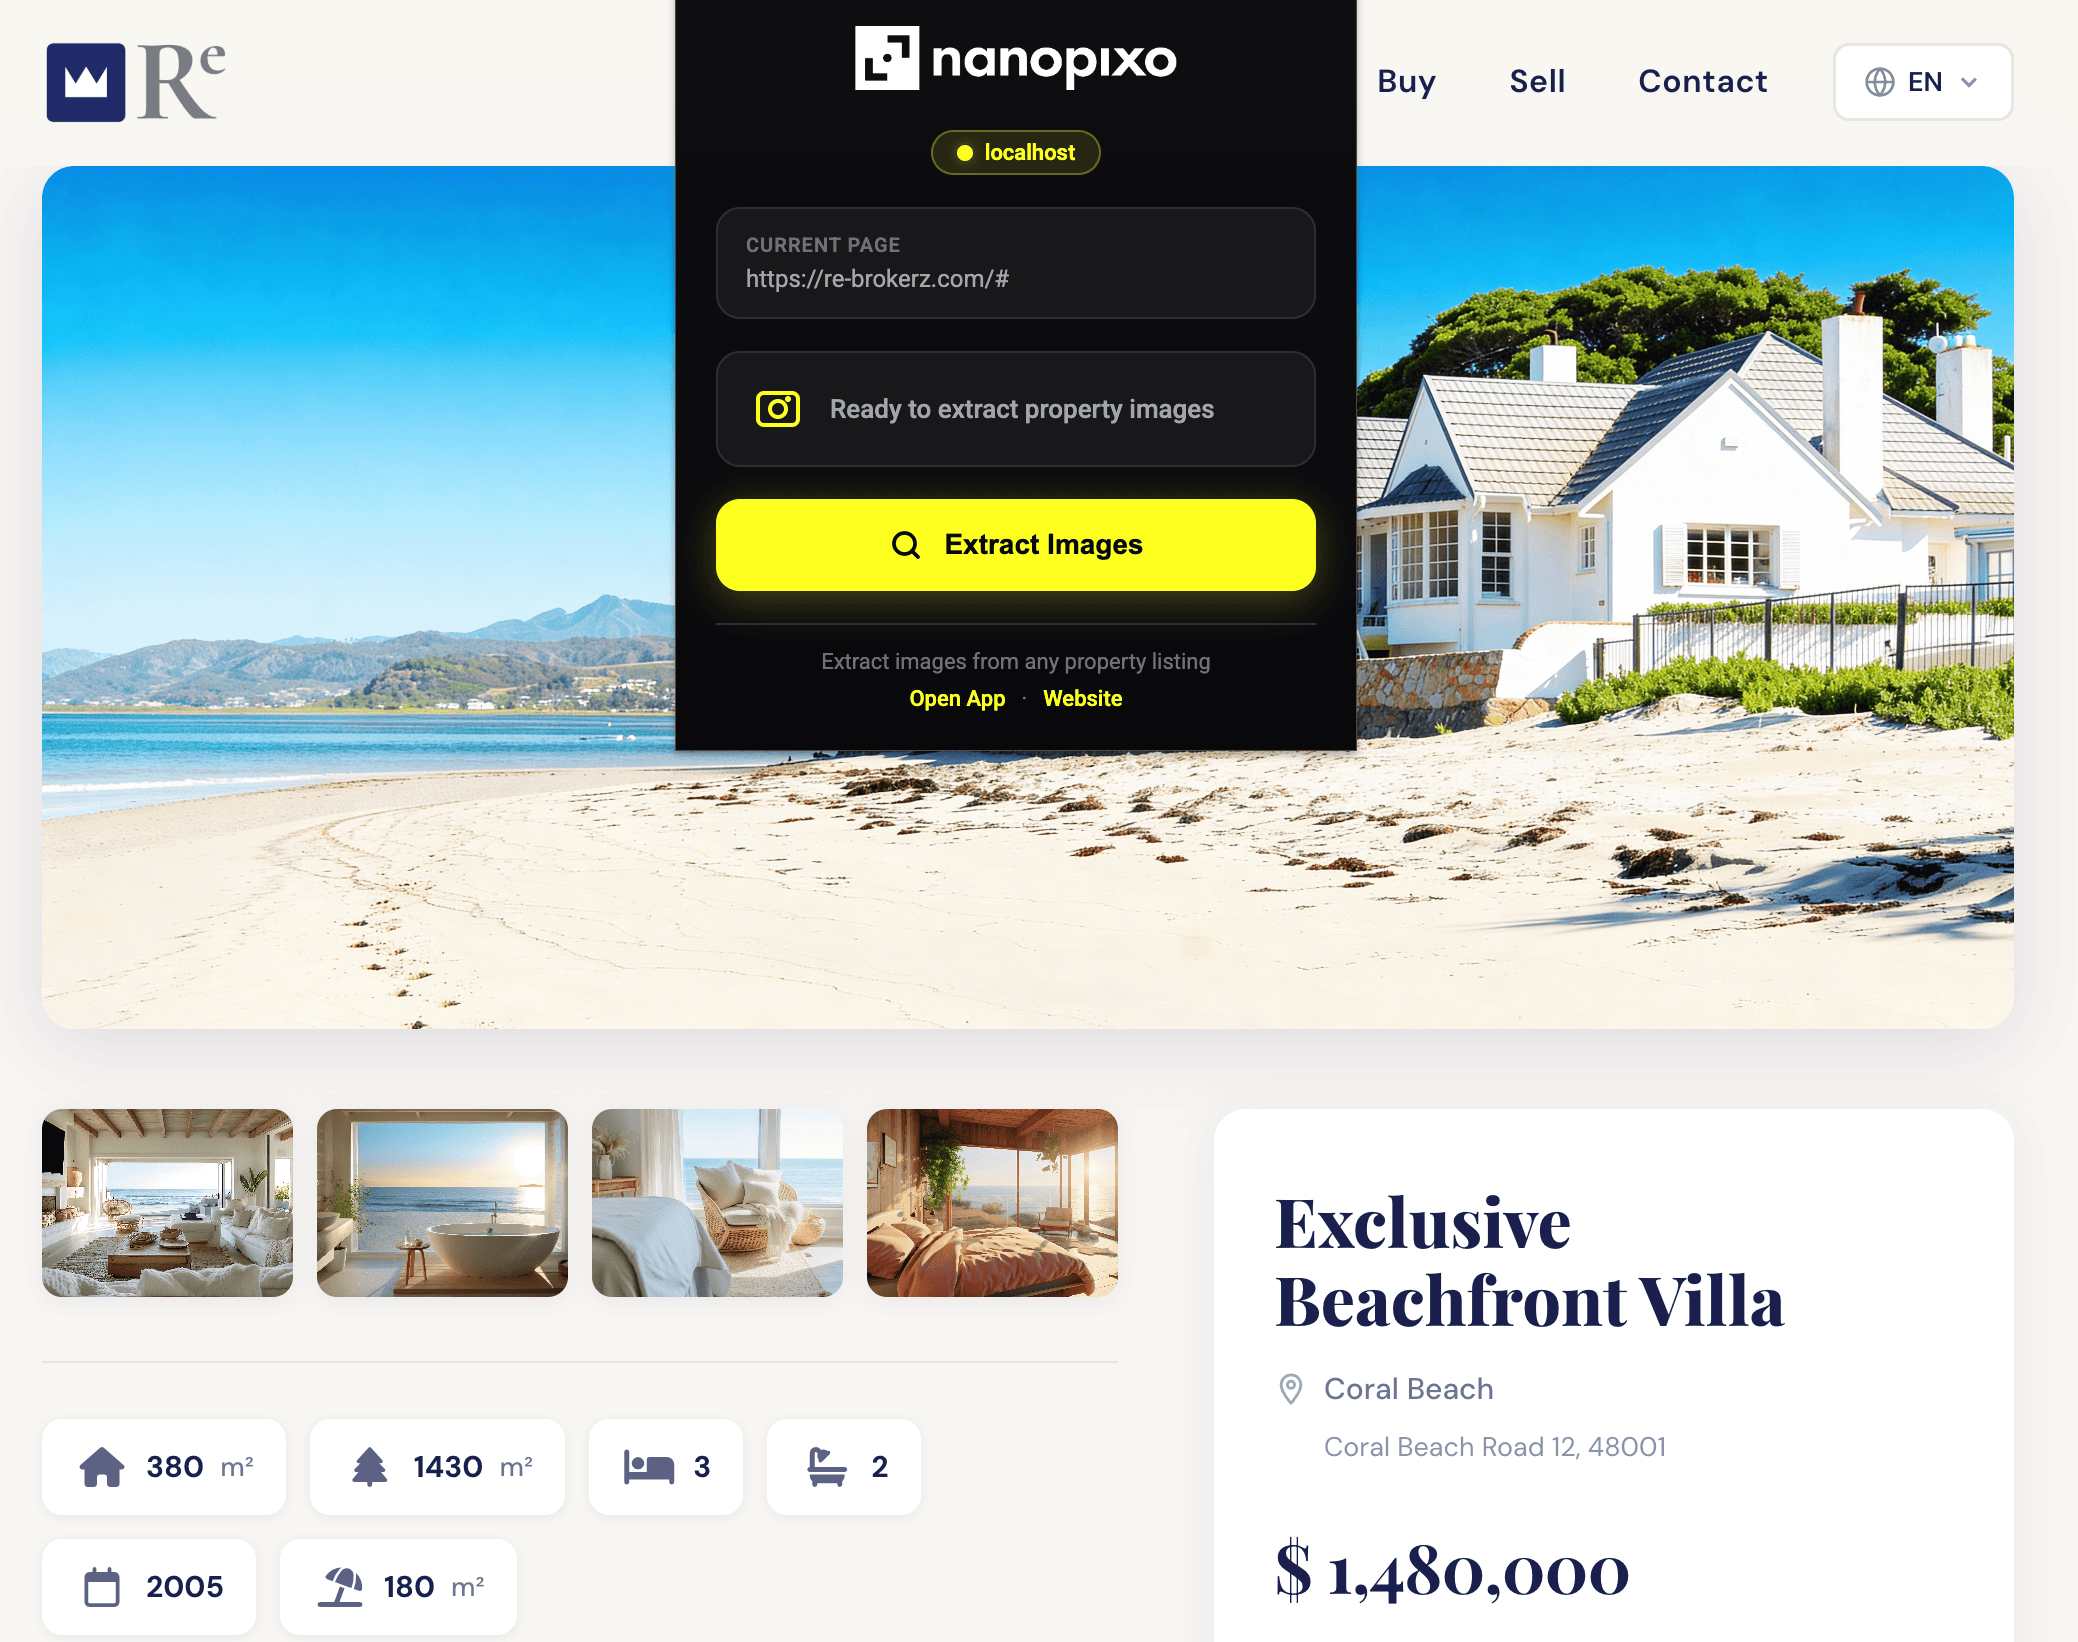
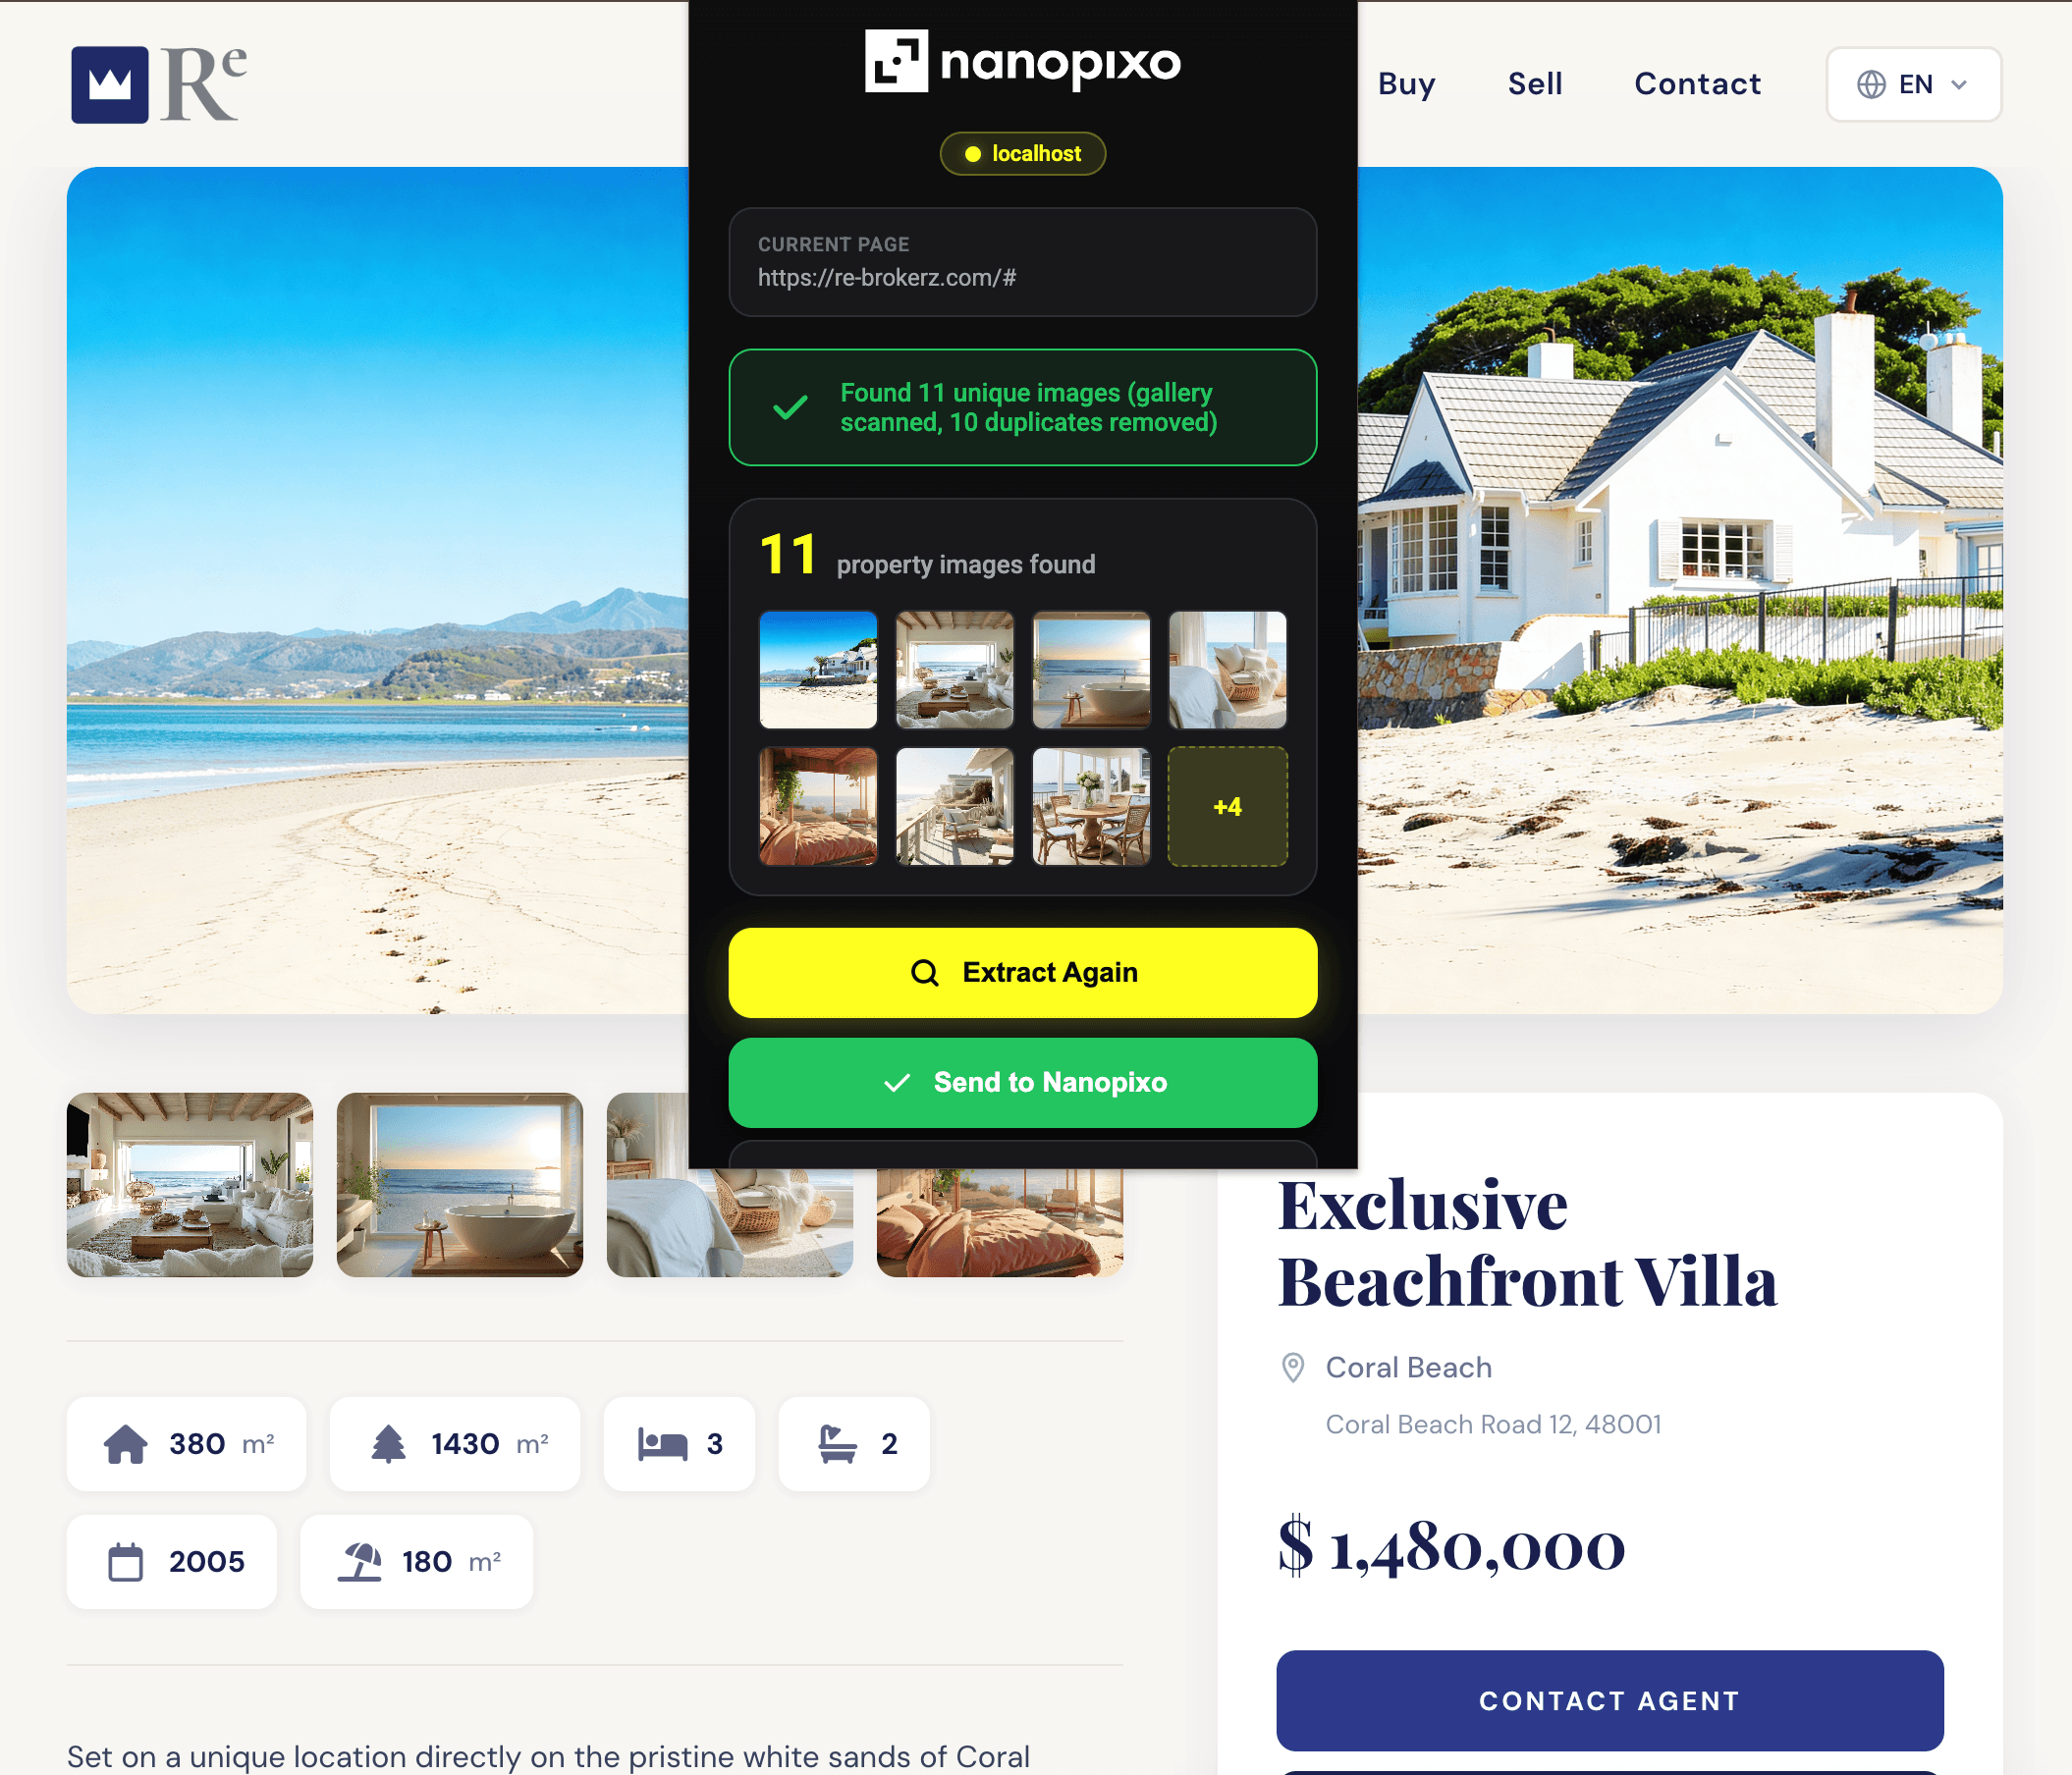
Click the Nanopixo icon and import
Click the pinned Nanopixo icon. The extension detects the photos on the page and shows them in a popup. Click "Import" to send them to Nanopixo.
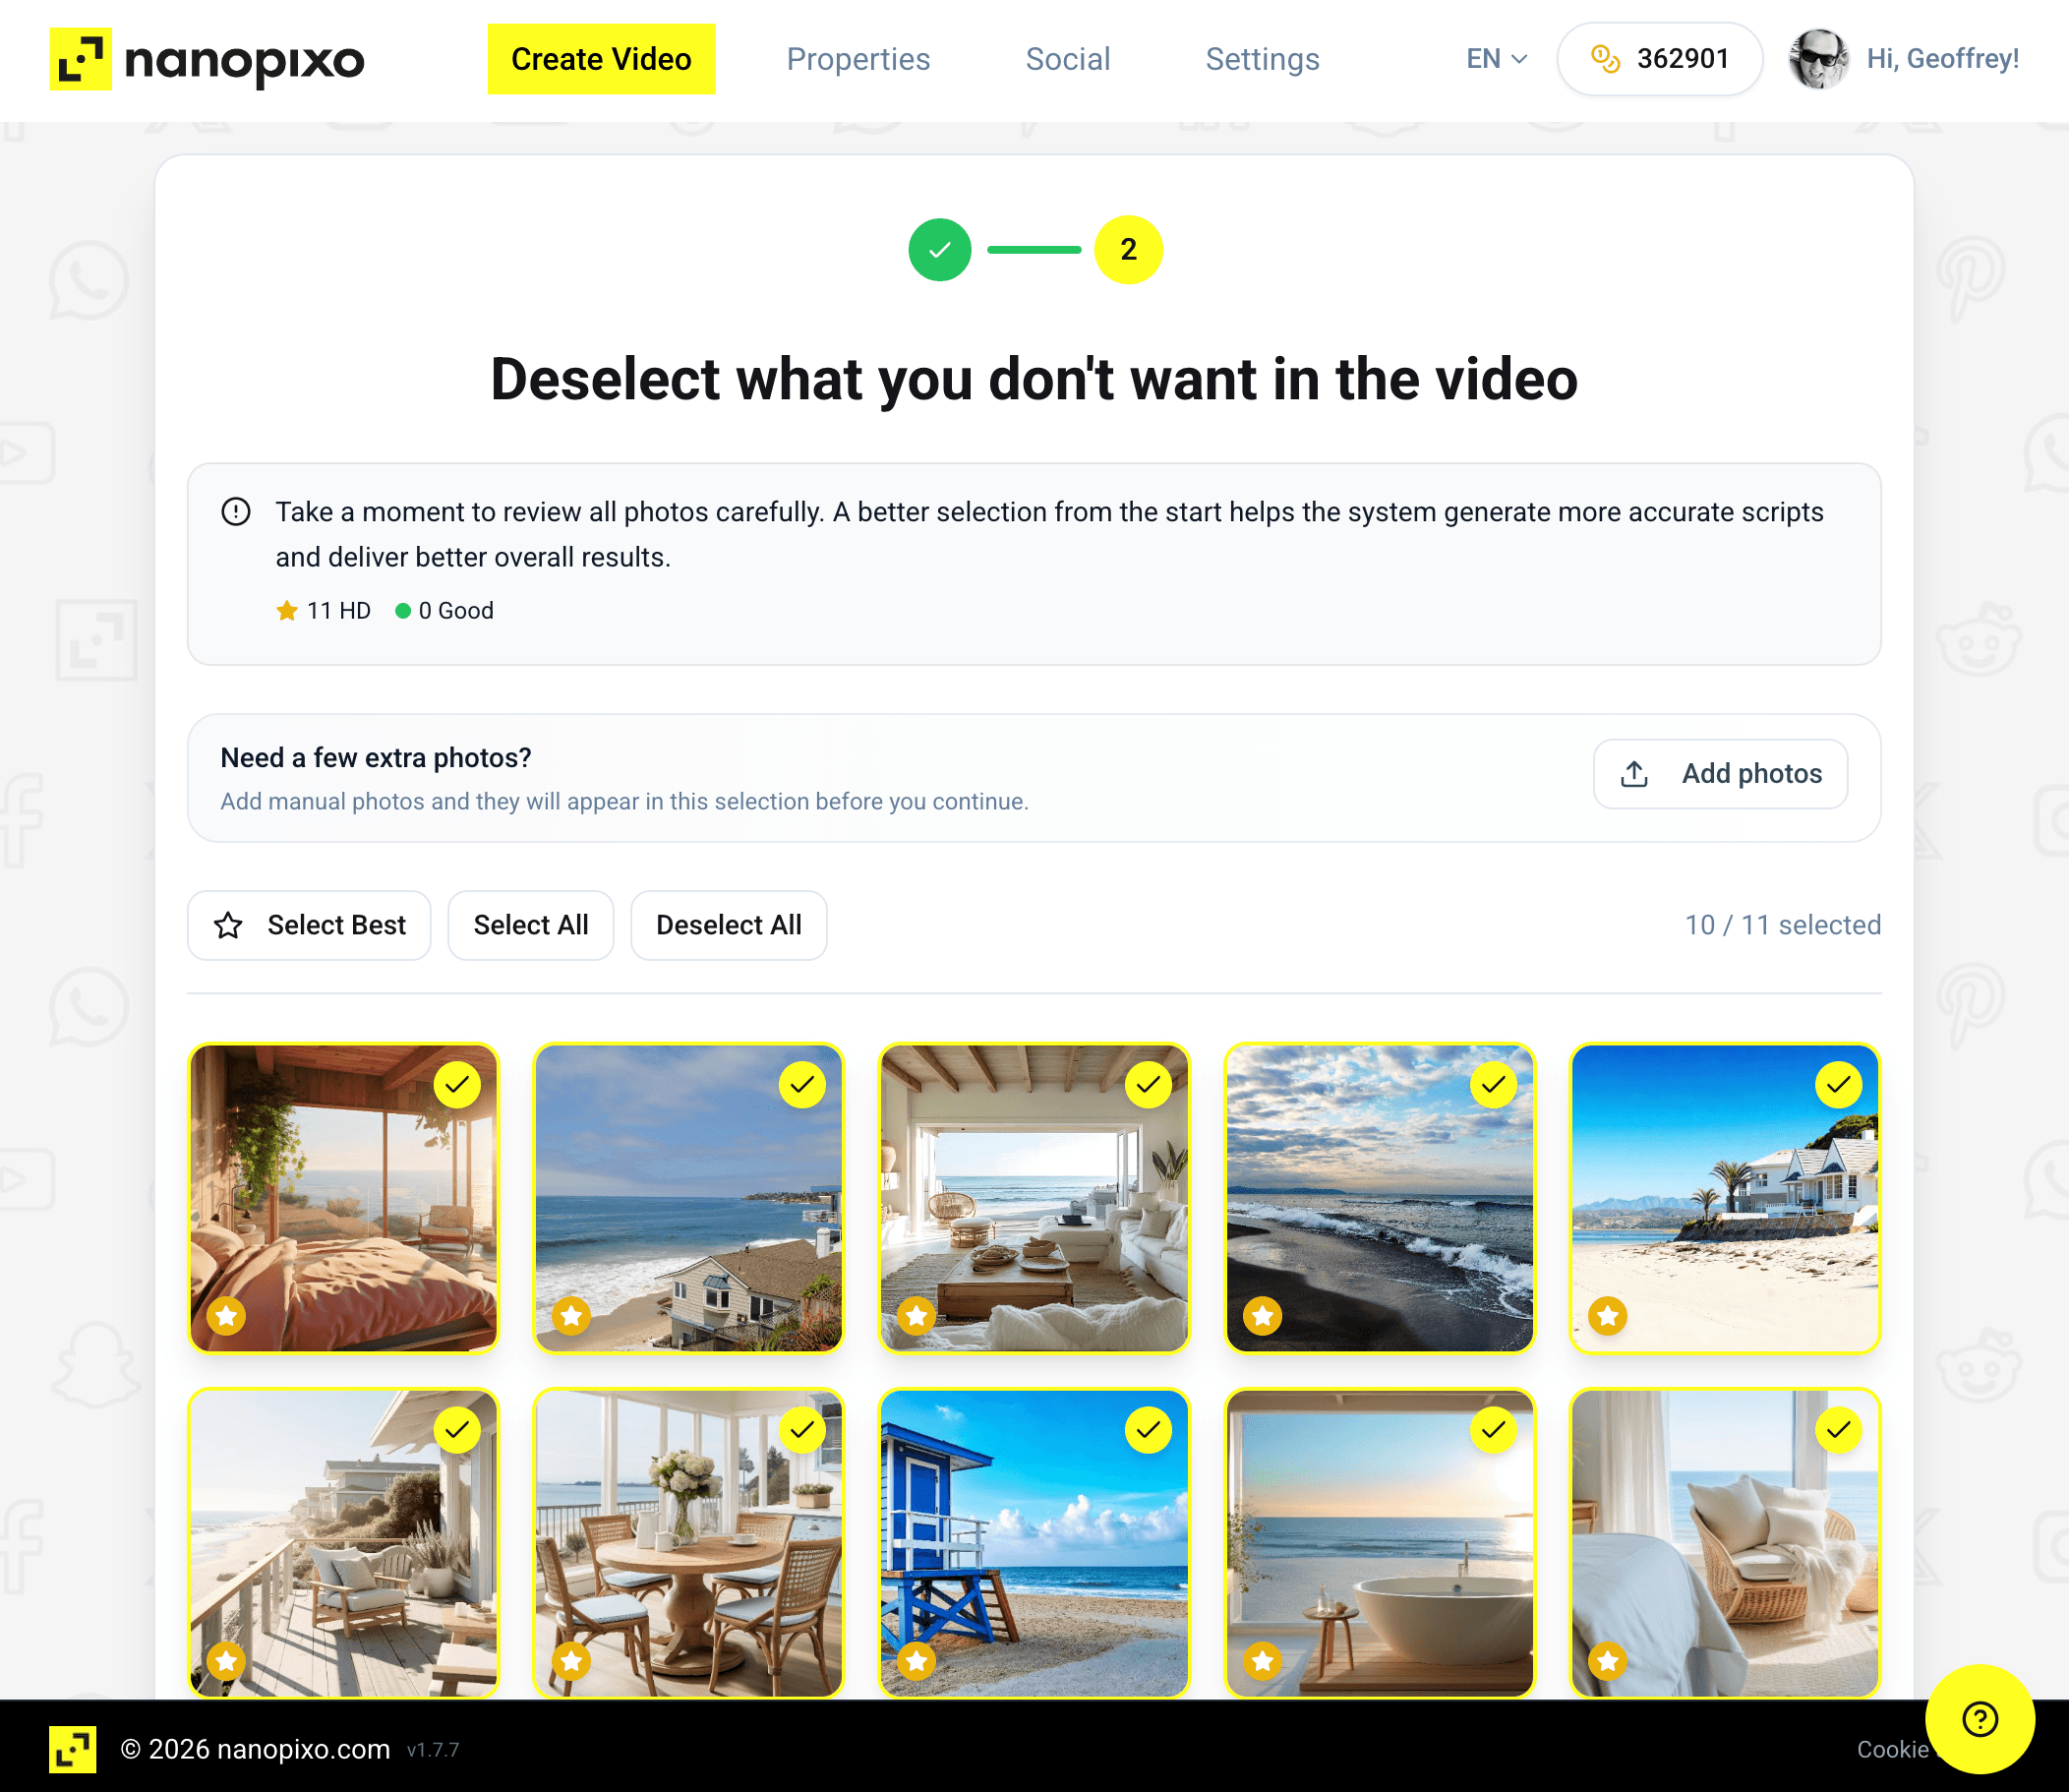
Continue in Nanopixo
A new project opens in Nanopixo with your photos ready to go. Pick a template, pace, and caption, then create your video.
Troubleshooting
The extension doesn't detect photos.
Reload the page and click the Nanopixo icon again. Some sites load photos lazily, so scrolling to the gallery first helps.
Import opens the login screen.
You're signed out of Nanopixo in this browser. Log in once, then click Import again.
The icon is missing after install.
Open the puzzle-piece icon in Chrome and pin Nanopixo (see step 3).